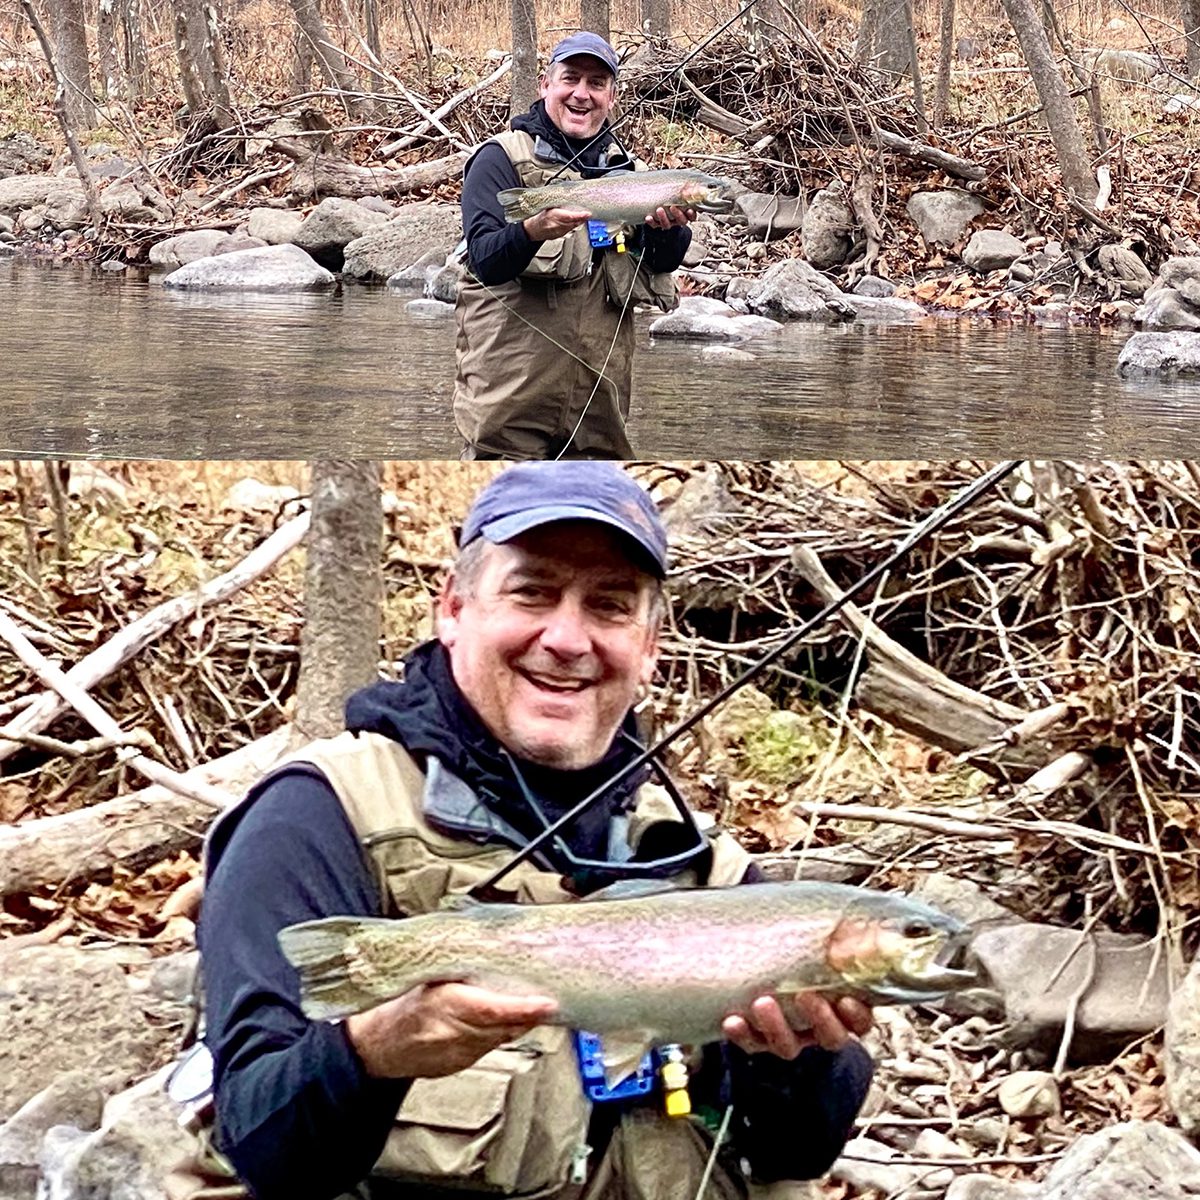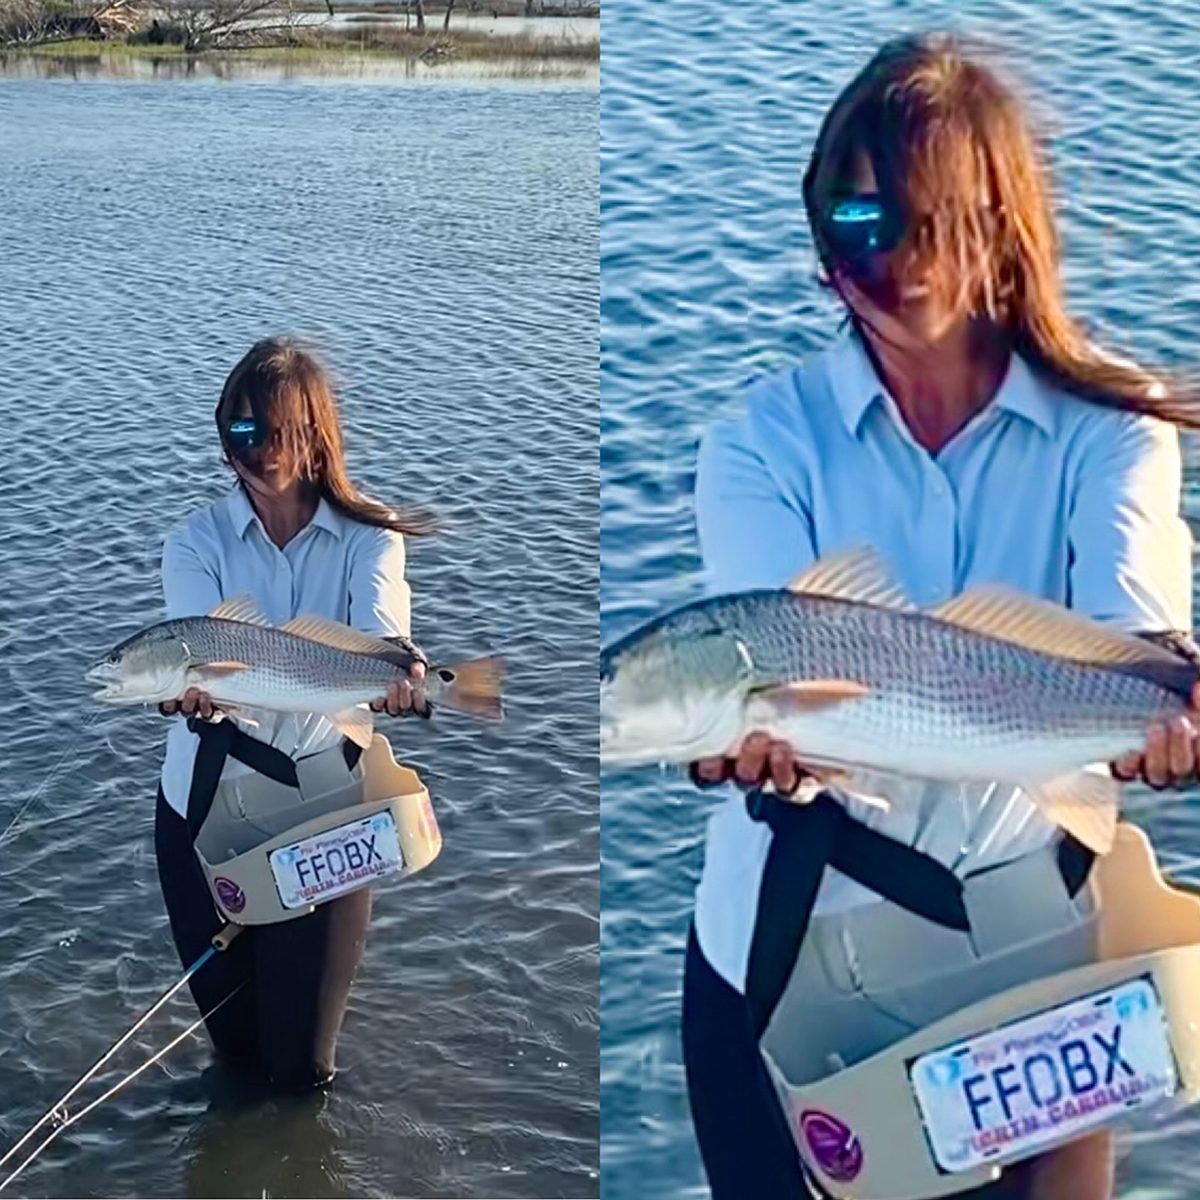
You’re out fishing on a beautiful day. You get a strike from the biggest fish that you’ve ever caught.
Get it aboard and you pull out your mobile device and take a photo with the camera that we all have in our pocket these days. You are so excited. You figure this is going to be the greatest photo.
Supporter Spotlight
You tell your friend, “I’m going to have this framed and hung up above my mantle.”
When you look at the photo, you realize it’s overexposed, it looks washed out, and the fish looks small and so far away. You decide to take another picture.
Now it’s dead from sitting in the cooler and looks terrible and sad. By missing the exact moment of the capture, you missed the great photo opportunity.
There are a lot of things that can go wrong with the cameras that we use to take snapshots today. It’s way better than it was when we all had Kodak Instamatics, but there’s still a lot of mistakes that can be made. How can we maximize that memory to get the perfect big fish picture?
Let’s be clear: We’re not talking about using the most-costly camera taking the fanciest pictures. Can you get a nice photo with expensive gear? Of course. Can you take terrible photos also? That’s an affirmative.
Supporter Spotlight
What we are talking about is using the same camera that everybody has in their pocket today, the mobile phone camera. If you can apply some of these lessons just using the regular camera built into your cellular device, you can get good results and even get frameable artwork that is worthy of being a family heirloom.
Move in tight
I want to start out by saying that driveway shots are right out. Dried-up shots of dead fish are not anything to be proud of. Instead, we’re going to concentrate on catching the moment with a live fish. These are the ones that last and bring back the memories.
First rule: Get close.
No seriously, I mean really close.
Get close enough that the picture of the fish and the person fills the frame and possibly spills over. The closer you can get, the more detail you can capture, then the more impactful the photo will be.
Resident Coastal Review photo expert Dylan Ray recommends to “Fill the frame with the fish. There’s no need to show the legs of the angler.”

A lot of the new cameras have a separate mode just to take portraits, coincidently enough called “Portrait Mode.” This is a setting on the phone that blurs the background of the photo while keeping the subject in sharp focus. This helps ensure a professional-looking photo that makes the subject “pop.” This also allows you as the photographer to get as close to the action as possible and produce a sharp image of the subject.
Make sure that your background is not full of clutter. By this I mean you don’t have extra people or lots of extra things happening. Unless of course you’re doing it on purpose. Sometimes a picture of a stream with the mountains in the background is very impactful.
Note conditions
Speaking of backgrounds, generally make sure that your light is coming from behind the photographer, otherwise the image will get washed out. Having harsh light in the foreground can ruin a photo quickly. Position your subject with the light coming from over the shoulder of the shooter.
Stay steady
Be still. Don’t move. Don’t shake. Even a little tiny bit of shaking will make your photo blurry.
Take many shots. If we are using digital, there’s no reason to not have many different images to use. Just a tiny bit of vibration from operating the camera can sometimes throw it off. Be aware of that. If the boat is moving or if something jostles you, it will also affect the photo. Take lots of exposures.
Editing
Now, let’s assume we have a clean photo with a nice frame-filling image. It’s not blurry and has a nice background with no washing out of exposure due to bad light. What do you do next?
That cell phone camera is an incredibly powerful image manipulator. The fact that it’s in your pocket all the time does not make it any less so. You can do amazing things with just a quick couple touches of some buttons. Let’s look at a couple of my favorites.

The easiest thing to do is to just tap on the button that says “Auto” and it will automatically adjust the light and color on photo. This is effective and simple, but probably not the very best way to do it.
First, I like to crop the image. Even if you had come in nice and close, there is some cropping that you can do to get out extraneous details. It’s also good to realize the size of the photo you want to end up with.
For Instagram images, you probably want it to be as square as possible. For something that you are going to frame, a portrait shot will be best. That is when the longer axis is top to bottom, as opposed to landscape style, which is when the longer axis is from left to right.
Next, let’s talk about color and light. Previously, I mentioned the “Auto” button and how this may not be your best option. Go into your edit settings and there should be a place to adjust the colors and the light. There will be sliders for each setting for things like shadow, light, and color saturation. By simply fooling around with the sliders and experimenting you can figure out what they all do.
If you don’t like the results simply hit the cancel button and start over. This is not film where we have to develop a sheet of expensive photo paper and every mistake equals money lost.
I will generally go down each slider in turn. Experimenting a few times until I get something that looks good to me. Let me add here, that a little goes a long way. You don’t have to make very big adjustments to each setting to make dramatic differences.
“Using a headlamp will add some nice fill light,” advises Ray.
Get in there and mess around with the settings and see what you come up with. Remember you had to have something good to start out with, and it begins with proper framing, good light, and a smooth shutter control to have a clean start.
Good luck and let’s see what you come up with this year.


